The Best 3D Printing Tips for Your Creative Projects
Unlock the potential of 3D printing and transform your creative projects into reality. Whether you’re crafting unique models or practical tools, this technology opens doors to endless possibilities. Imagine using your 3D printer to bring ideas to life, layer by layer, right in the comfort of your space. But you might wonder, what’s the best approach to make the most of this technology?
In this guide, uncover tips that elevate your skills and keep your projects innovative. Learn about different materials, such as resin and plastic, which suit various designs. Discover how prototypes evolve quickly through additive manufacturing, offering you a peek into the future of creating and building. Explore rapid prototyping and slicing techniques that ensure your 3D printed parts are as functional as they are fascinating.
Dive into the world of 3D printing and elevate your projects with cutting-edge strategies. Ready to take your creativity to new heights? Let’s explore these tips together and make your ideas shine!
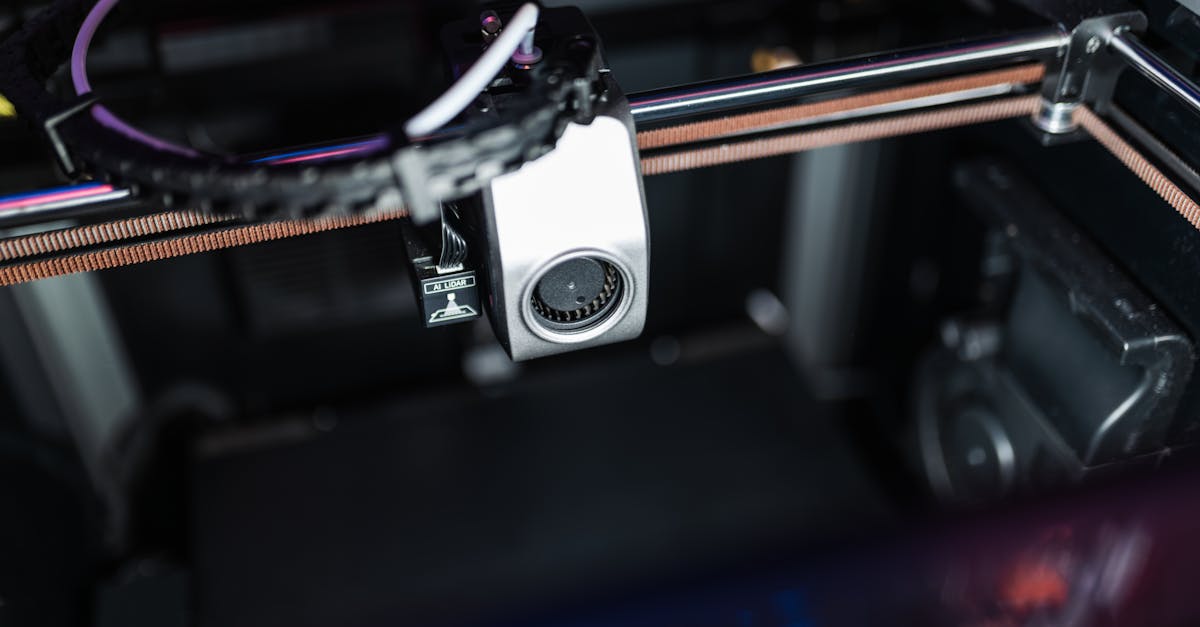
Photo provided by Matheus Bertelli on Pexels
Throughout the article
Understanding 3D Printing
3D printing is a cool way of making things by adding layers of material. Unlike regular ways of making stuff, it builds parts layer by layer. You can create almost anything with it, from simple toys to complex machinery parts. It’s also called additive manufacturing. People love it because it saves time and allows for creativity in designing objects. This means you can make custom parts and test new ideas quickly. Knowing these basics helps you understand how it works and why it’s useful.
Tip 1: Choose the Right Materials
Explore 3D Printed Materials
When you start your 3D printing project, picking the right materials is key. You might choose plastic or metal, depending on what you need. Both materials have unique strengths. Plastic is lightweight and easy to shape, while metal is strong and durable. If you want something really tough, consider using resin. It gives you great detail and strength, perfect for making prototypes production parts. Remember that choosing the right material can make your project both strong and stylish.
Advanced Restoration Technology
You can use advanced technology to get the best results in your printing projects. This technology helps by providing accurate and high-quality outputs. Many new 3D printers come equipped with these smart features. For instance, they can automatically calibrate, ensuring your printed parts are exactly as designed. With these, your projects not only look great but also work perfectly in demanding situations.

Photo provided by Fernando Arcos on Pexels
Tip 2: Master the Design Process
Innovative Restoration Techniques
Being creative is fun when you’re designing for 3D printing. Think outside the box to make unique things that stand out. You can use creative design software tools to help visualize your ideas. Don’t be afraid to experiment with different shapes and sizes. By trying out new designs, you learn what works best and discover innovative restoration techniques to make your items even better.
Prevent Water Damage Restoration Needs
Design your projects to last. By planning smartly, you can avoid possible future issues like damage from water. Think about where your project will be used. For instance, if you’re making something for outdoors, ensure it’s waterproof. Use appropriate finishing techniques to seal and protect your designs from the elements.

Photo provided by Jakub Zerdzicki on Pexels
Tip 3: Prepare for Emergencies
Emergency Restoration Solutions
Things don’t always go as planned. It’s smart to have quick solutions ready for unexpected issues. Simple precautions can save your project when things go wrong. Keep spare parts handy for rapid response restoration tasks. This way, if something breaks, you can fix it fast without delaying your project unnecessarily. Also, understand how to troubleshoot your 3D printer. Being prepared keeps your creative projects on track, no matter the challenges you face.
Unlock Your Creative Potential
Exploring the world of these machines opens up a realm of possibilities. You can create unique designs, transform ideas into reality, and even develop prototypes that stand out. The techniques we’ve discussed will help you avoid common pitfalls and maximize your efficiency. Plus, using a variety of materials like resin and metal allows you to experiment with strength and flexibility in your projects.
To begin enhancing your skills, start by selecting a project that excites you. Next, refine your design skills by experimenting with slicing software. As you gain confidence, gradually incorporate different materials to broaden your expertise. Remember, practice builds precision. Regularly working on projects will improve your understanding and ability.
Now, it’s time to dive in and try your first project. Grab your equipment, choose a design, and let your creativity take the lead. The more you practice, the better you’ll become. Happy crafting!